Setting Up Google Analytics
Now that your website is built, you’ll want to set up and add Google Analytics to your site before you begin promoting it. That way you’re tracking visits to your site from the beginning (but not too early, such as when you were still building it). The first step is to create a Google Analytics account. Go to:
And sign in with your Google account.
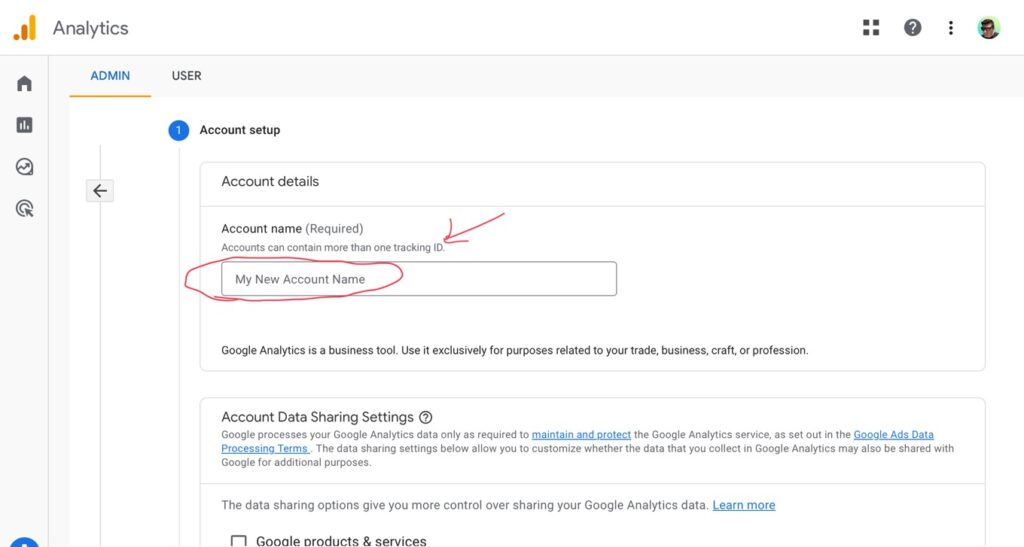
Now, create your Analytics account. I would name it your business name. Notice how there is a little note that says “Accounts can contain more than one tracking ID”. They’re trying to tell you (in Google speak) that you can have both websites and apps inside your Analytics account. If you own multiple businesses, I would create multiple Analytics accounts in that case (one account for each business). But multiple properties (websites and apps) for one business only need one Analytics account…
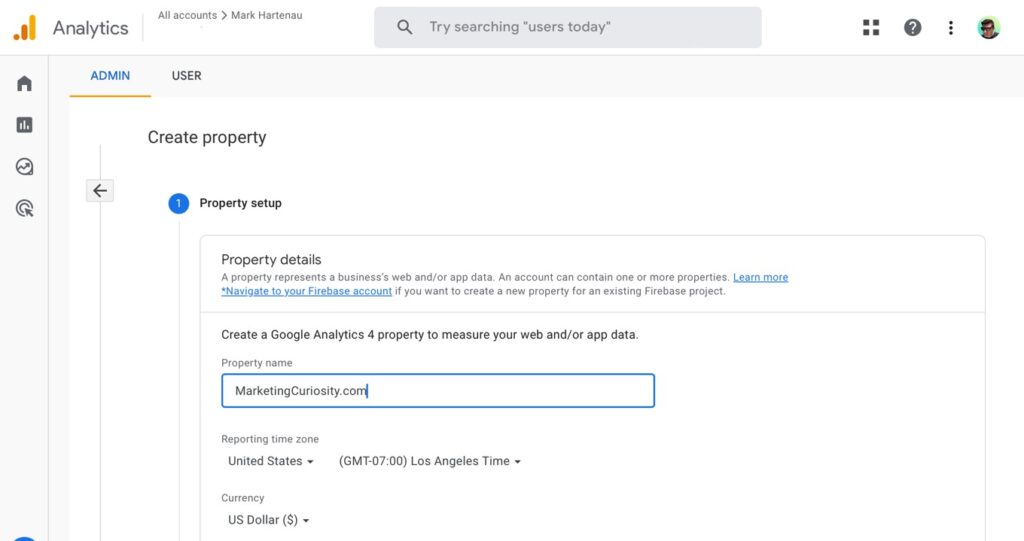
Next, keep scrolling down, answer any questions and click through until you get to the property setup. You’ll now add your website. I usually name it: “BusinessName.com” (the “.com” telling me that it’s a website). You can also name it something like “Business Name Website” if you prefer…
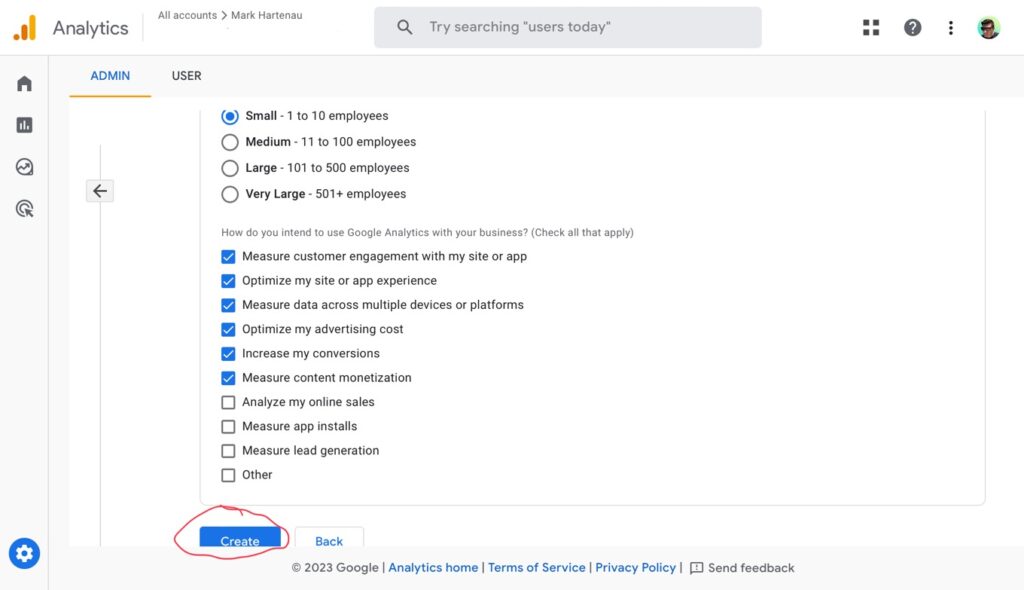
Now, scroll down and answer any further questions like how large your business is and check off what you intend to use Google Analytics for. The things that I left unchecked in the image below, was because MarketingCuriosity.com doesn’t sell anything, has no app, and doesn’t do lead generation. You’ll have to think about what your business does and doesn’t do. Then click “Create”…
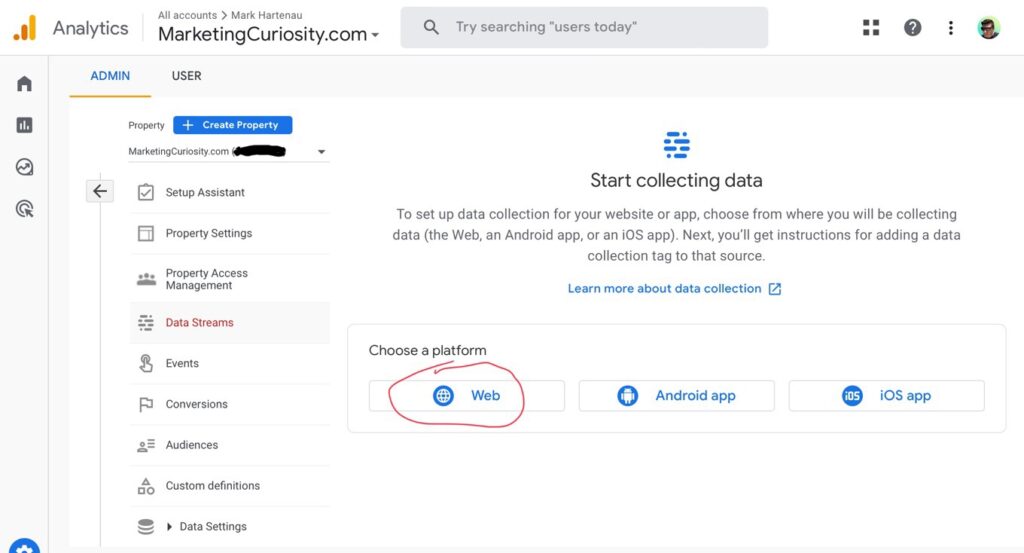
Next, it will start the data collection setup. Choose “Web” since we’re setting up a website…
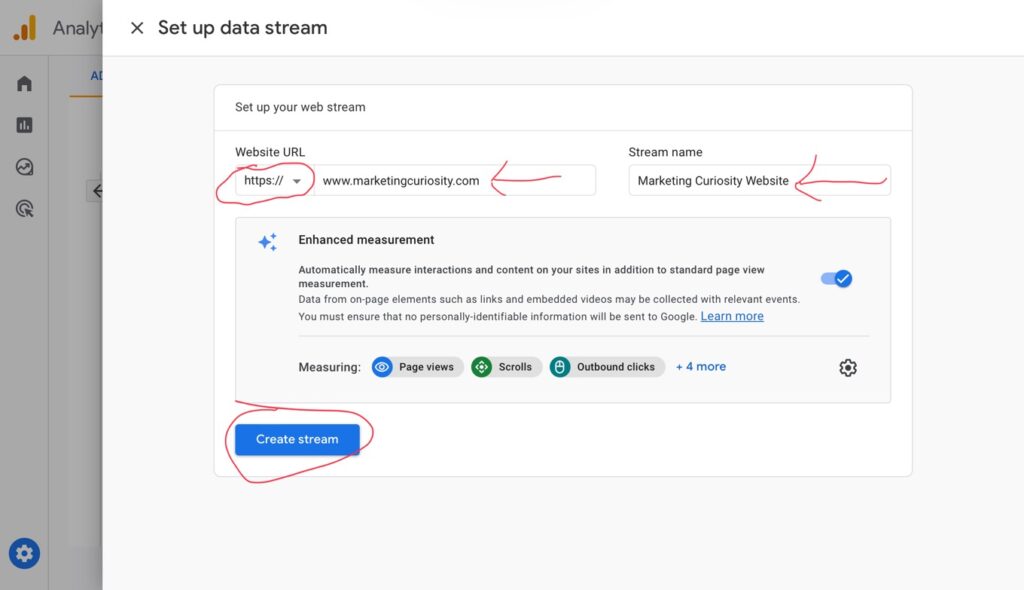
Next, it’s going to ask you to set up a data stream. A “data stream” is what Google is calling your site’s tracking code these days. Fill out your website’s URL (making sure “https” is selected) and then name the data stream. I’m just calling my data stream, “Marketing Curiosity Website” so I know this data will be coming from my website (as apposed to an app, advertising account, or anything else)…
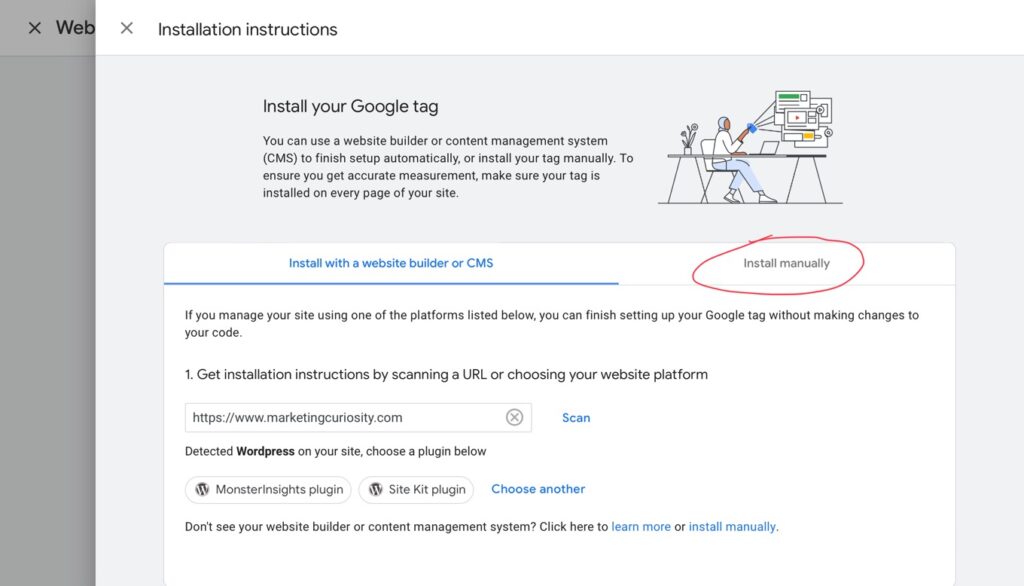
Now, it’s going to ask me to install the code on my website (what Google now calls a “Google tag”). If you’re using Monster Insights or Site Kit plugins you can surely choose those methods but I’m not trying to use a third party analytics program. I just want Google Analytics. So I just want to install the code manually. Also, there will be other code I’m going to install in the future (like for advertising purposes and for remarketing- I’ll get into all that in later lessons). So all extra code will just be installed manually so I’m going to click on “Install manually”…
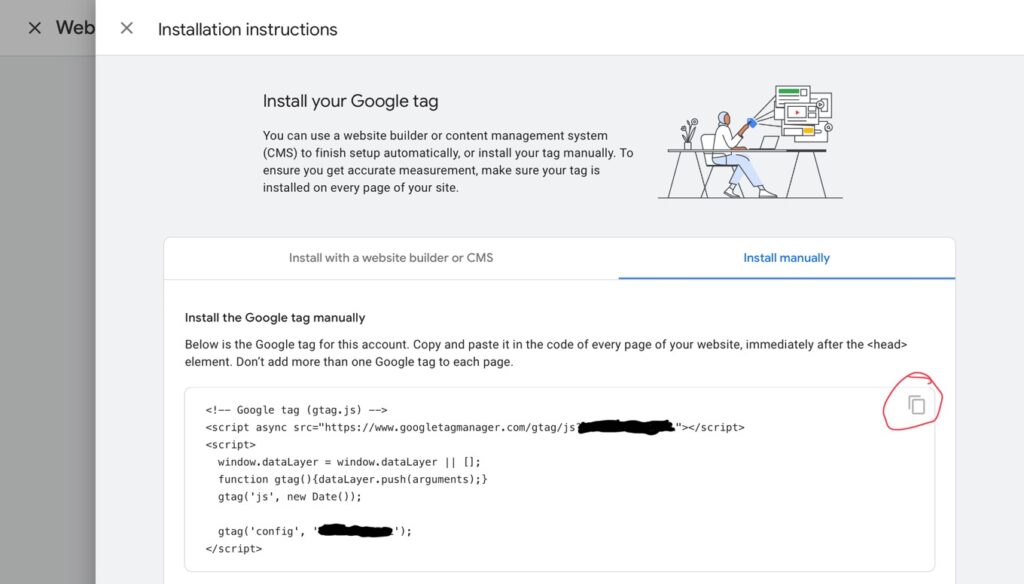
Now, copy the code. You can simply click the copy icon and it should copy to your clipboard…
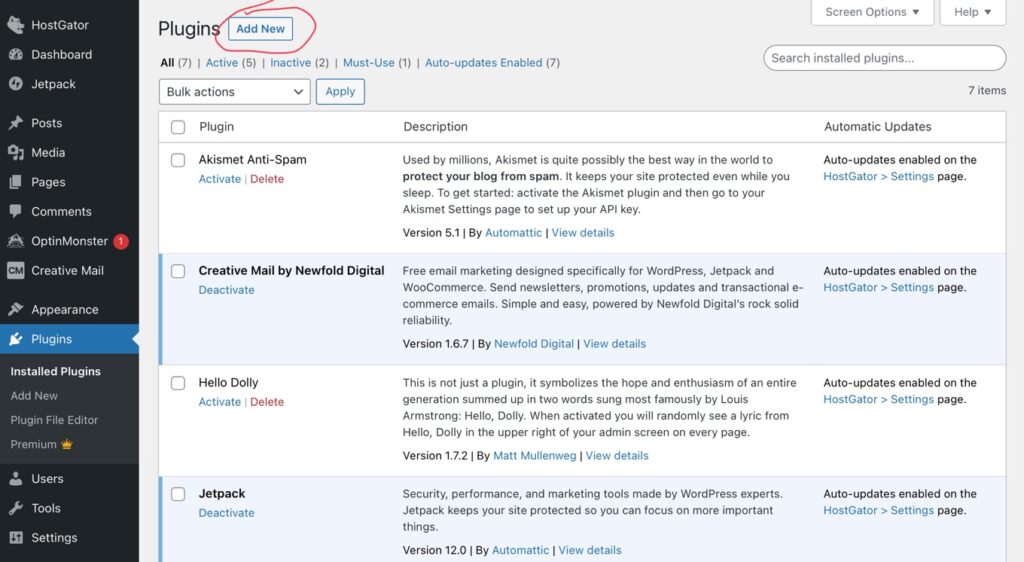
Now, we’ll want to paste it to your WordPress website but where do you paste it? There’s no place to paste “<head>” code right? Well, you’re right… initially. You have to install a plugin that allows you to paste head code throughout your WordPress site. So before we paste the Google tag code, let’s log into your WordPress site (in another tab, incase you need to copy the code again) and go to the “Plugins” section and click on the “Add New” button…
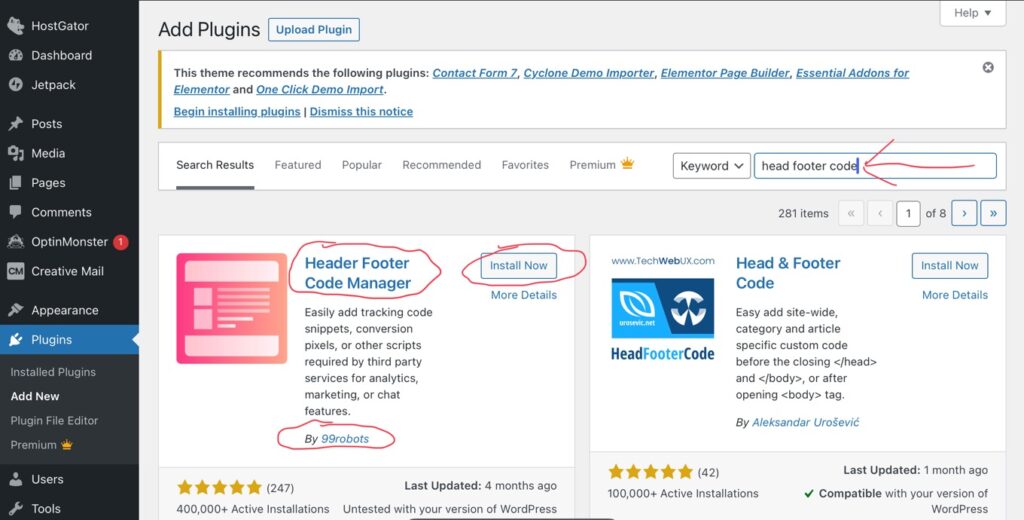
Next, use the search bar and search for “head footer code”. The first result should be a free plugin called “Head Footer Code Manager” by a developer called “99robots”. Click “Install Now” on the plugin…
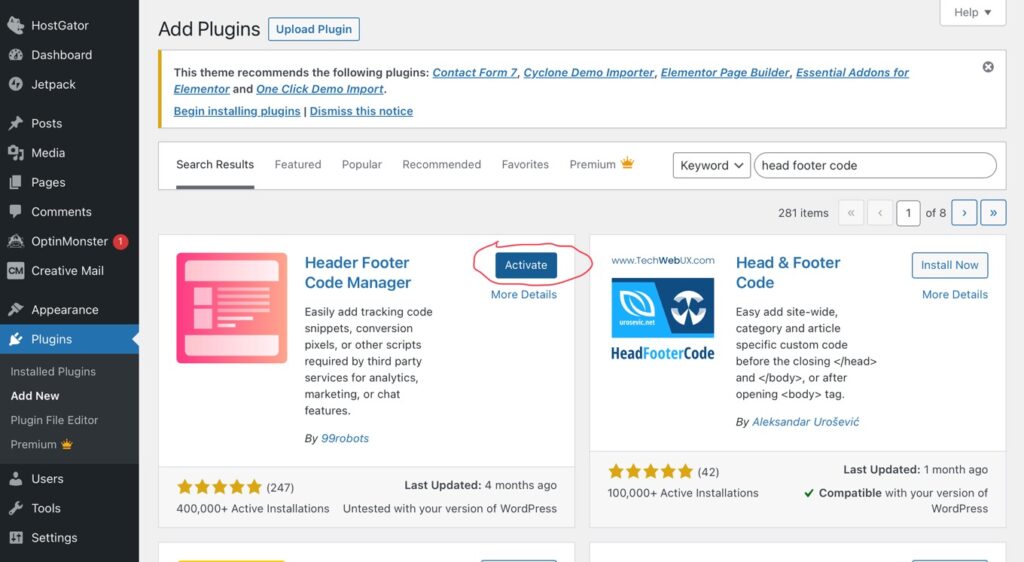
After the plugin installs, the button will say “Activate”. Click it…
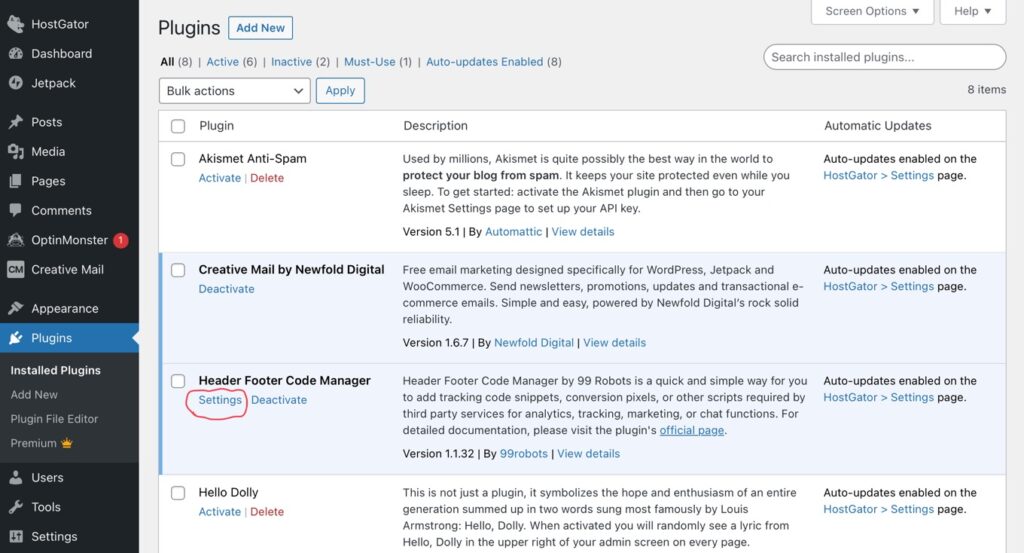
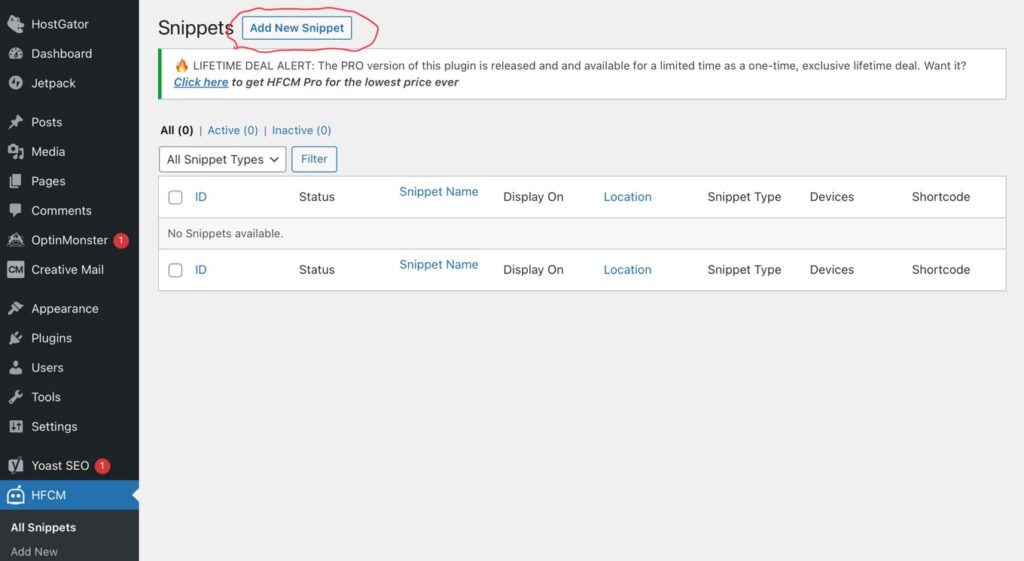
Find the plugin in your list of installed plugins and click on “Settings” just underneath it…
Now click on “Add New Snippet”…
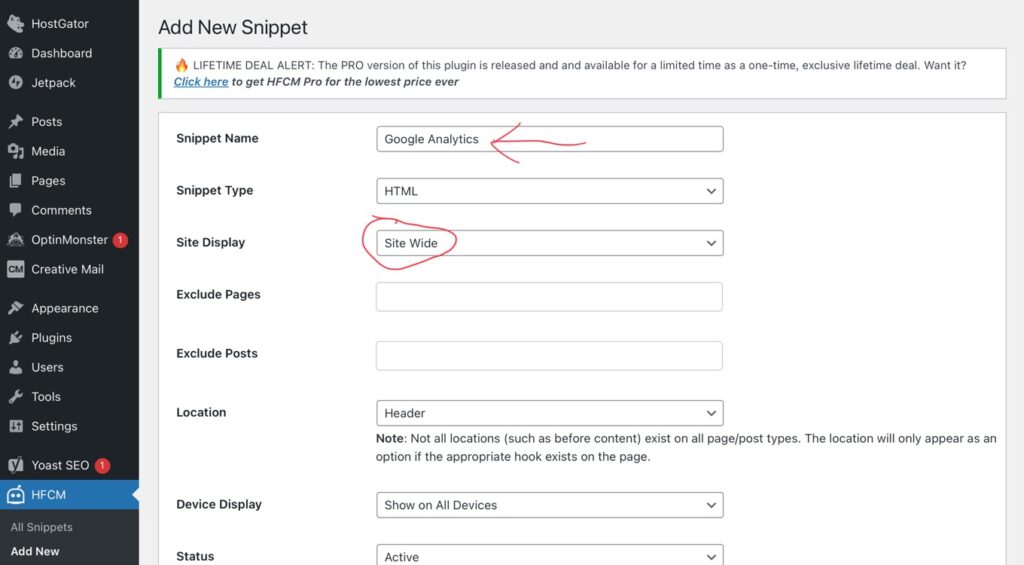
Start by giving your snippet a name. I usually call it “Google Analytics” so I know why I added this snippet of code when I’m looking at the full list of snippets later on. Also, make sure the “Site Display” is set to “Site Wide”. That way, the Analytics code will track visits to every single page of your site…
Now, scroll down the page a bit and paste the code onto line 1. After pasting, it will spread out to multiple lines. That’s good. Also, you might have to go back to Analytics (in the other tab) and copy the code again first. After pasting, click “Save”…

You can now go back to Google Analytics (in the other tab) and close everything there. You might notice warnings that say “data collection isn’t active” or “no data received in the last 48 hours” or something along those lines. That’s okay. Wait 24 hours for Google to notice that the code has been installed.
In the next lesson, we’ll start learning about SEO (Search Engine Optimization)…