E-Commerce With WordPress
How to Make an Easy E-Commerce Site in WordPress
A lot of people think they need to spend oodles of cash every month on something like Shopify or BigCommerce. Well, with WordPress, you don’t have spend any money! You just install a plugin called WooCommerce that turns your WordPress site into a Shopify-like website and back office. The plugin is free to install and use and WordPress, of course, is free too. You’ve really just got your domain name and a bit of hosting to pay for (like the $3.88 a month that NameCheap charges- practically nothing!)
The WooCommerce plugin also allows you to connect your business’s PayPal, Square, or Stripe for customer checkouts (which includes accessing inventory data you already have on those platforms).
Installing WooCommerce
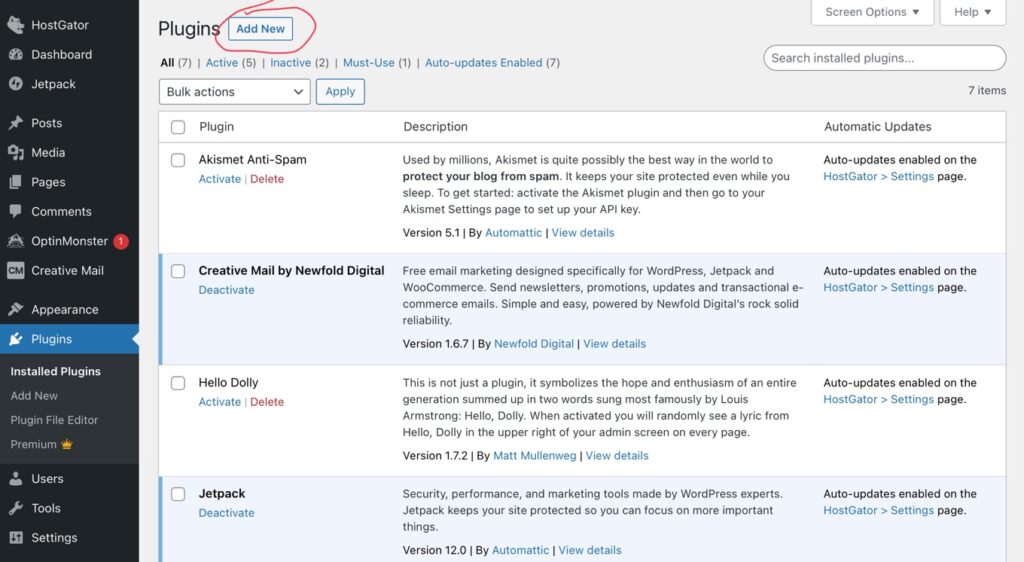
To install WooCommerce, go to the “Plugins” section inside WordPress and click on “Add New”…
Then use the search bar to search for “WooCommerce”…

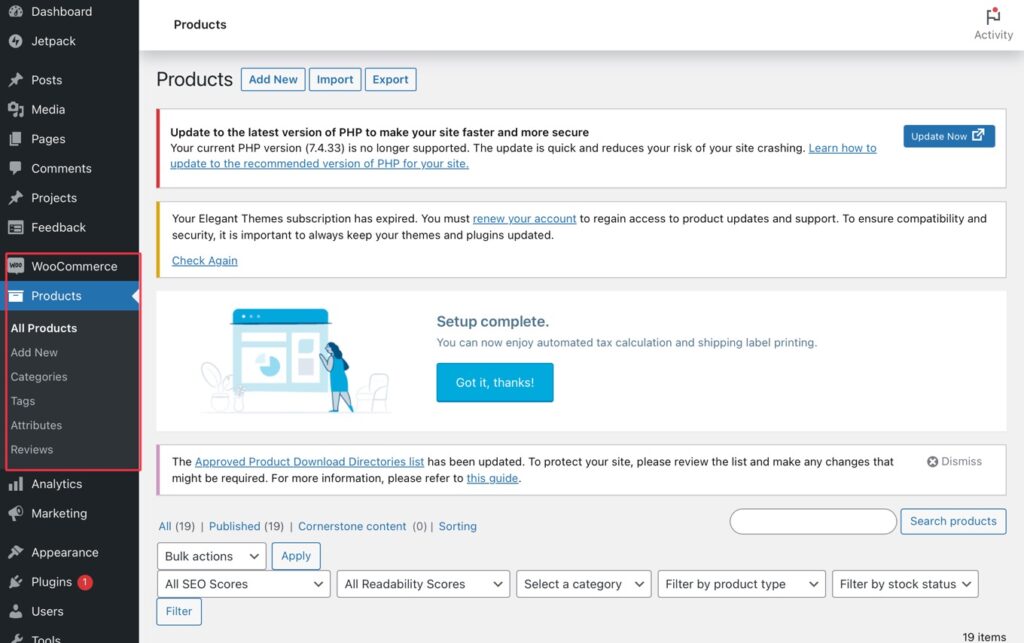
Once you have WooCommerce installed and activated, you will notice that there are some new things in your left column like “Products” and “Categories”. Since your website is now an e-commerce site, you are going to be creating “products” instead of “pages” or blog “posts” (although you can still have pages and a blog if you wish). I usually create at least a homepage so I can SEO it with keywords and talk about the store a bit…
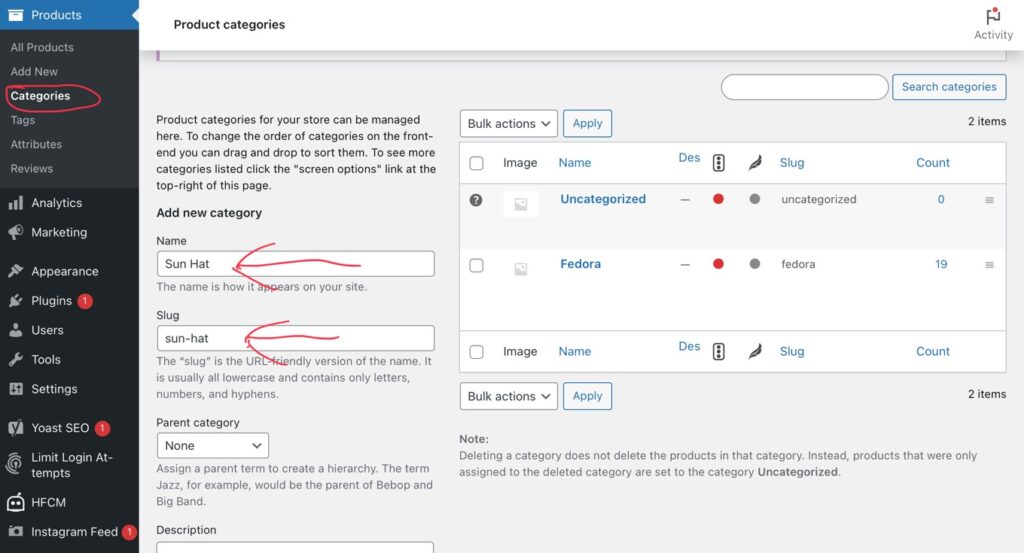
I’m actually working on adding more products to a WordPress WooCommerce site right now. It’s a fedora hat store that’s branching out into a new style of hat so the first thing I’m going to do is add that new category. So first I’ll click on “Categories” from the left column and then add the category name and slug. And a “slug”, by the way, is the URL-friendly version of the name. It’s usually all lower case and spaces are replaced by hyphens…
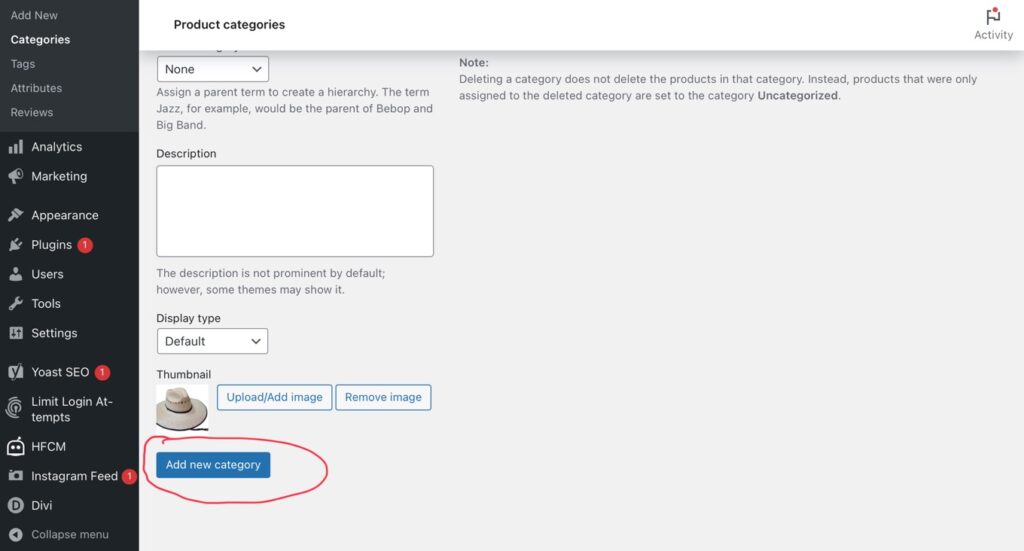
Then, scroll down and add a description and thumbnail image for the category, if you’d like. Then click “Add new category”…
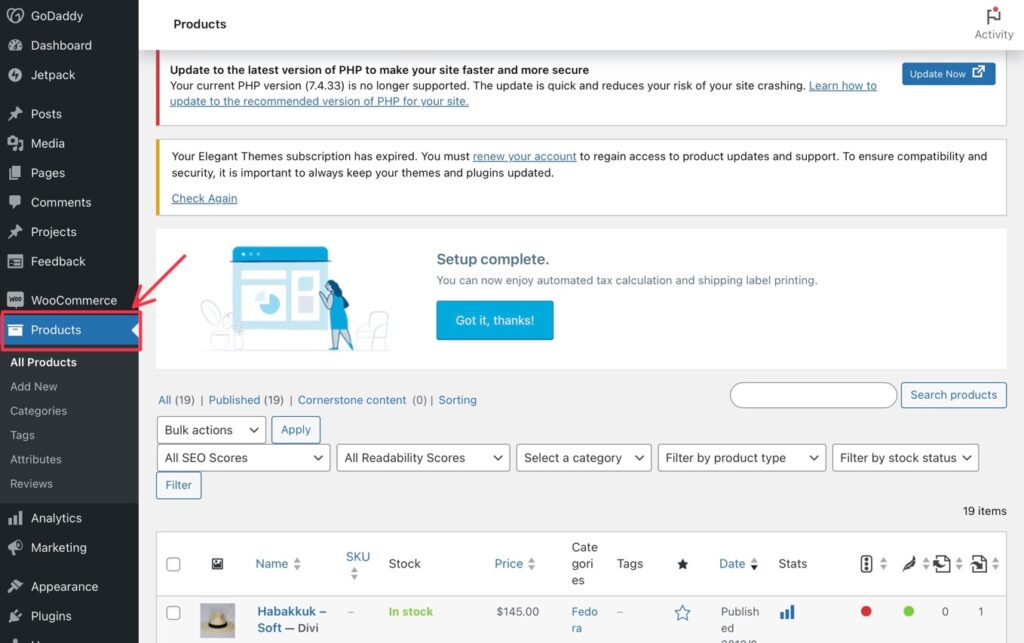
Now that our category has been added, we can begin to add products. Click on “Products” (underneath “WooCommerce”) on the left column…
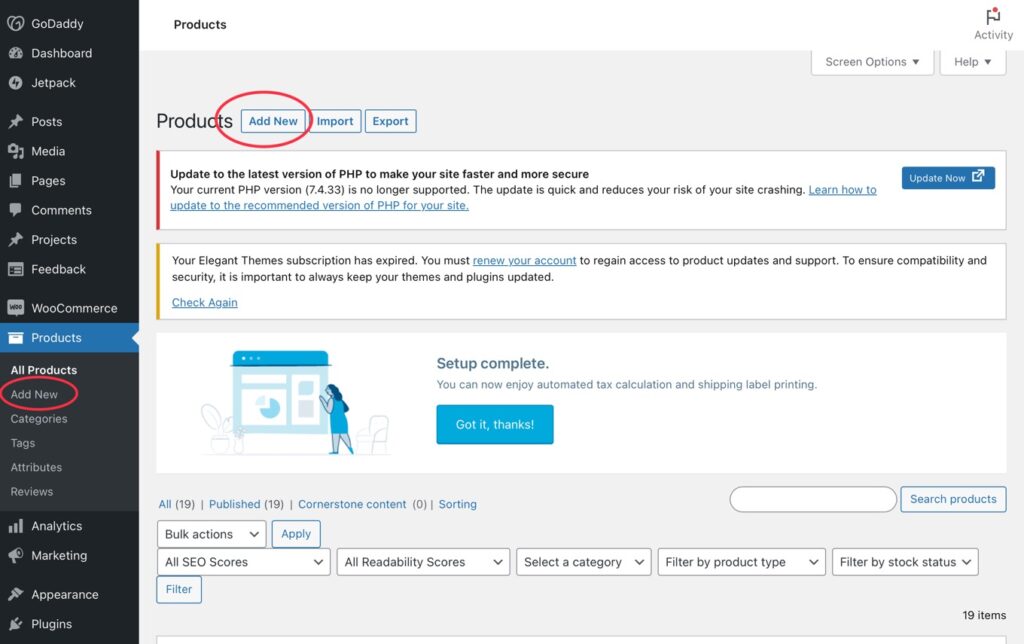
And now you can add new products by clicking “Add New” at one of two places: either on the left column or at the top of the main area of the page…
Next, title your product…
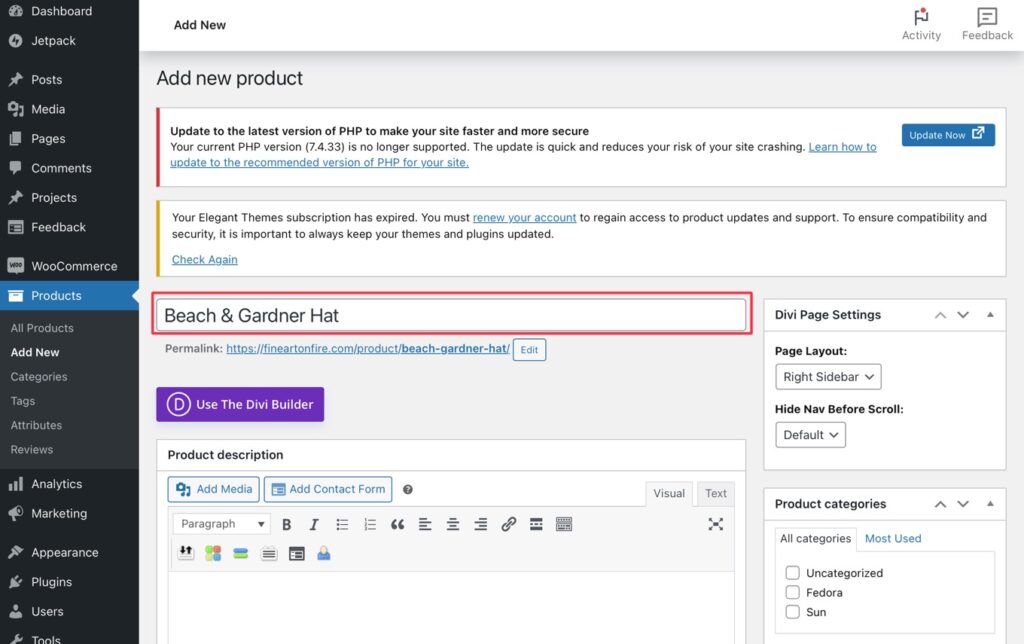
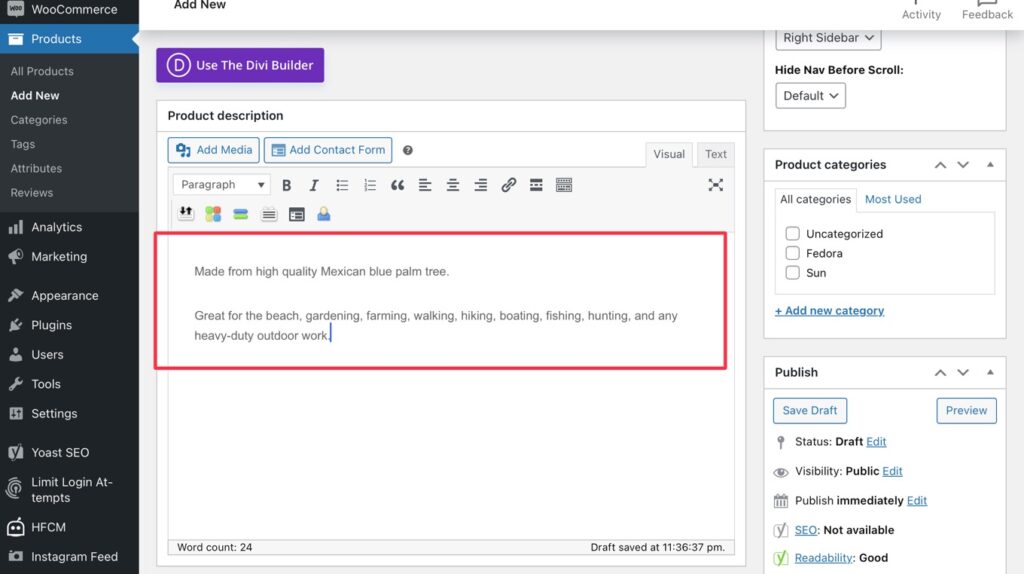
Then, in the “Product description”, type up a description…
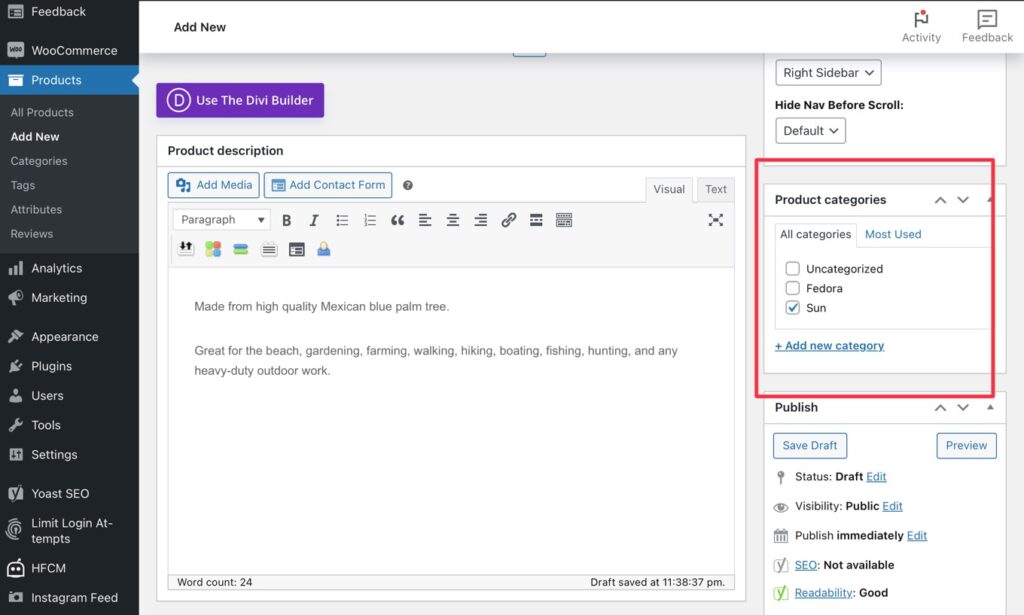
Now go to the right side and checkmark this product’s category (in the “Product categories” box)…
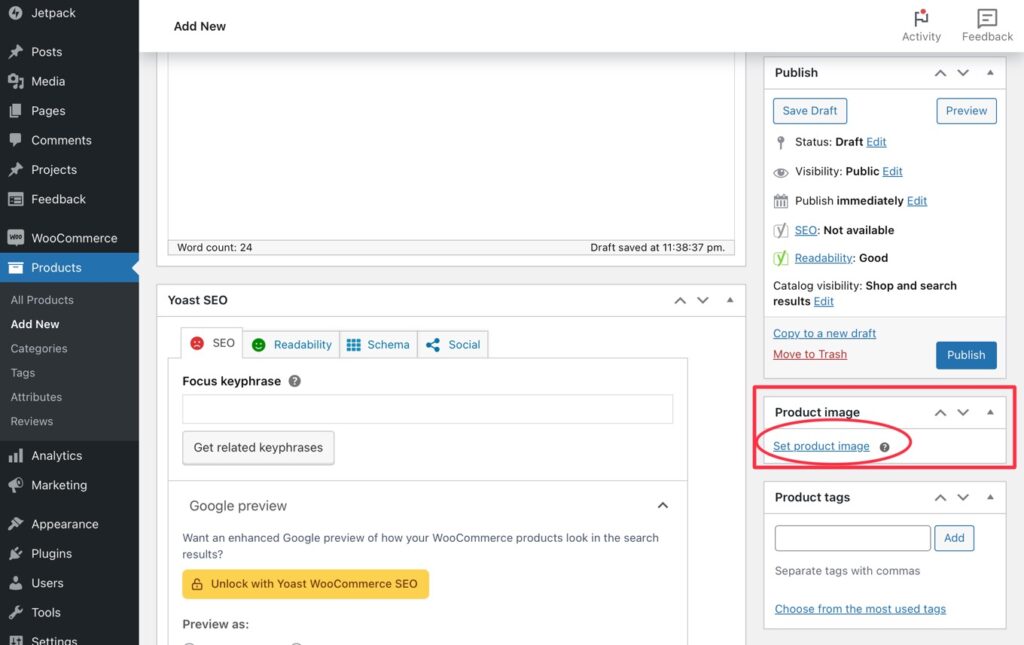
Next, scroll down a bit (staying on the right side) and go down to “Product image”. Click on “Set product image”…
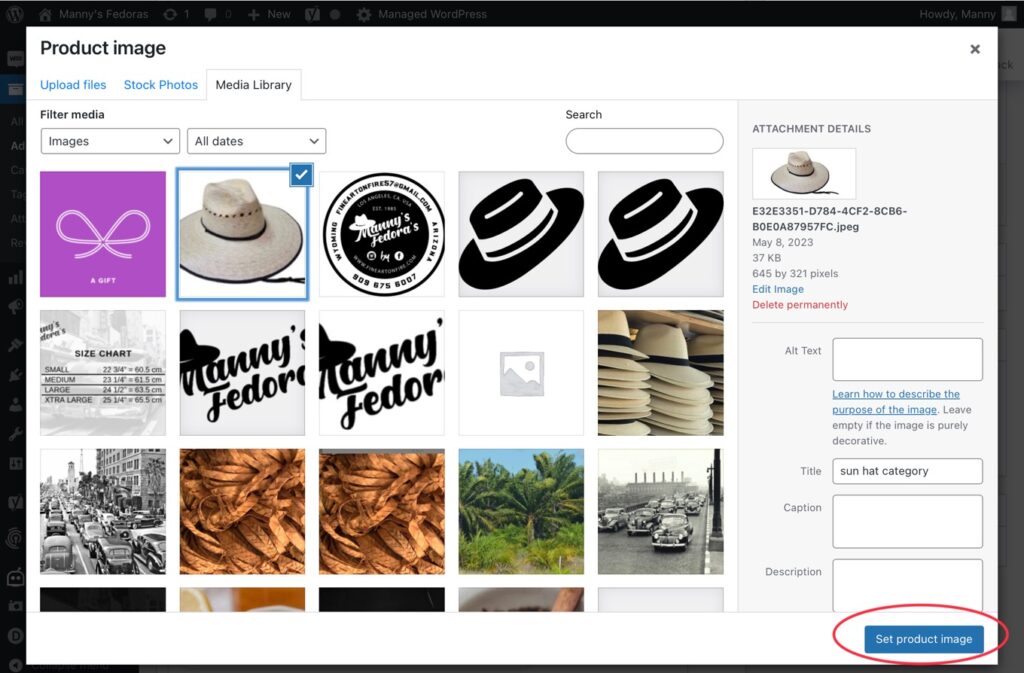
Since my product happens to be already uploaded (the same image I used for the category), I’m simply going to choose it from the media library and click the “Set product image” button. In your case, you may upload a new image and then click the “Set product image” button…
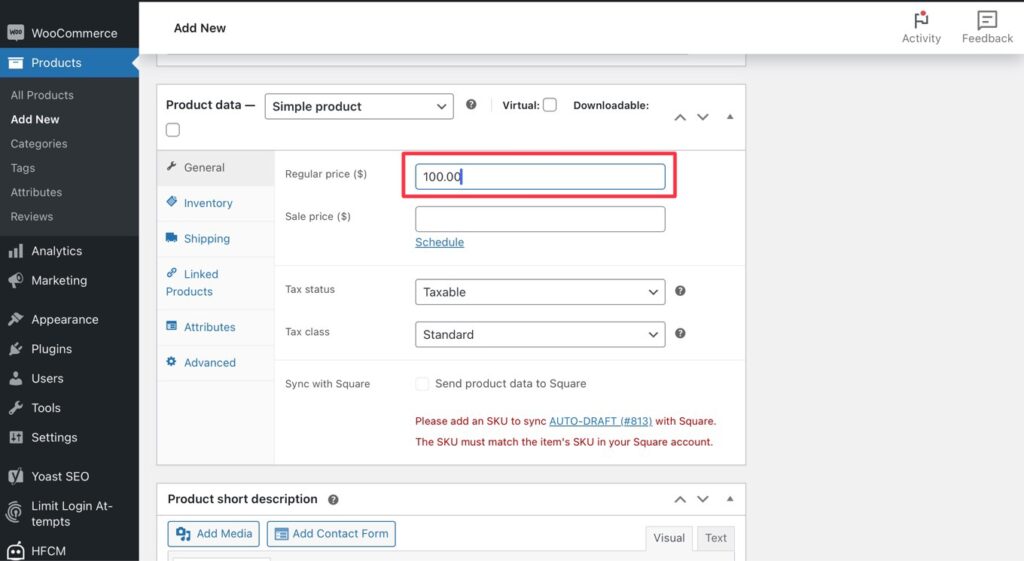
Next, scroll down a bunch more (and back over to the main area) and enter the product price in the “Product data” box. I’ve left the setting on “Simple product” but you can change that if you need. You can do things like variable pricing (where the price depends on what version of the product the customer chooses- i.e.: colors and sizes). You can also add a “Sale price” if you want. That crosses out the regular price and makes it look like your product is on sale. Anyway, there lots of things you can do in this section…
And finally, when you’re ready to go, scroll back up the “Publish” box on the right side and click on the “Publish” button…
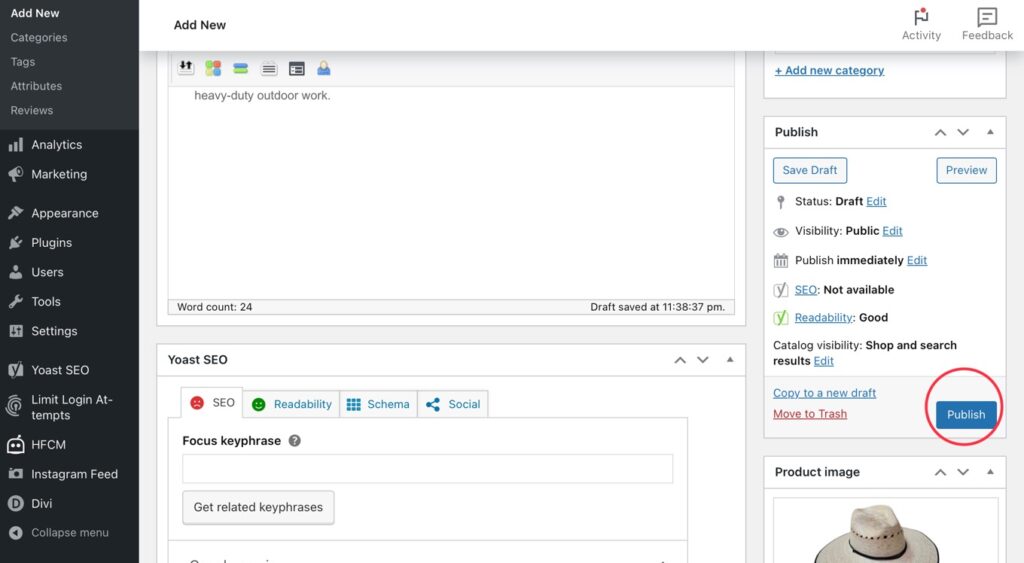
Your product will now be visible in your online store.
So, now that your website is finished, the very next thing you’ll want to do is get Google Analytics set up and tracking code installed on your site. That way, it starts tracking visits as soon as possible.